1.5T HD 8 Channel Wrist Array MCQA Test Setup
Prerequisites
Follow this process to prepare for the MCQA test using the 1.5T HD 8 Channel Wrist Array by Invivo.
1 Legacy Phantom Setup
Procedure
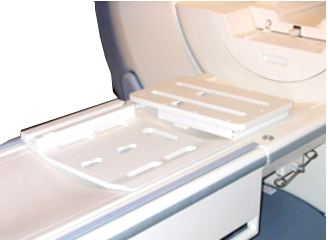
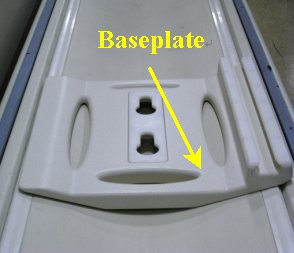
- Place the base plate on the table as shown in Figure 1.
Figure 1. Baseplate On The Table
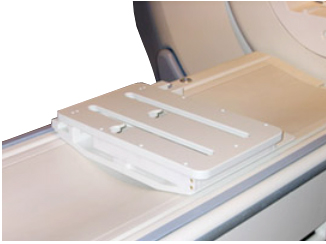
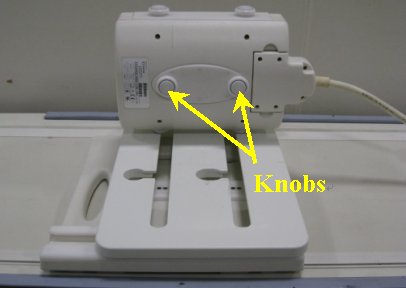
- Attach the base plate riser to the base plate as shown in Figure 2 and Figure 3.
Figure 2. Baseriser Placed On Baseplate. Align Knobs And Lock By Pulling Back

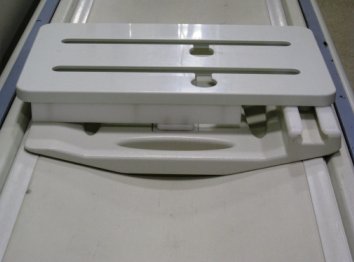
Figure 3. Baseplate And Riser In The Locked Position
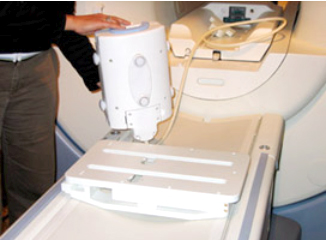
- Attach the 1.5T HD 8 Channel Wrist Array to the cradle . Note
the serial number of the coil. Figure Figure 4.
Figure 4. Placement Of Coil On Baseplate Assembly In A Similar Fashion Using The Knobs To Align And Lock
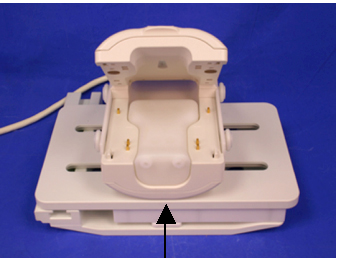
- Slide the locked coil to center position and mechanically locate
and align. Figure 5.
Figure 5. Line up to Baseplate Alignment Marker
- Place phantom in the coil. Figure 5.
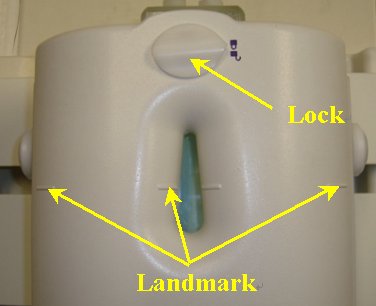
- Lock the coil using the lock on inferior top lock. Figure 6.
Figure 6. Landmark Reference Marks
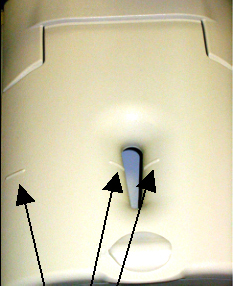
- Establish an axial landmark on the line on top of the coil. Advance to scan. Figure 6.
- Click here to go to the MCQA Test.
2 Unified Phantom Setup
Procedure
- Place the baseplate of Wrist coil on the patient table as shown
in Figure 7.
Figure 7. Base Plate
- Attach the baseplate riser to the baseplate as shown in the Figure 8. Baseplate
and the Baseplate riser in the locked position are shown in Figure 9.
Figure 8. Base Plate and Base Plate Riser 1
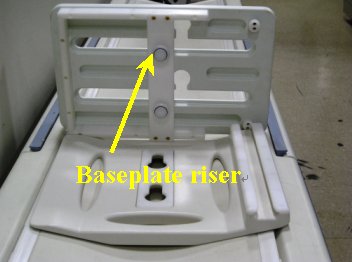
Figure 9. Base Plate and Base Plate Riser 2
- Attach 1.5T HD 8Ch Wrist Array to the baseplate assembly using
the knobs is as shown in Figure 10. Slide the locked coil to centre and align properly.
Figure 10. Attach 1.5T HD 8Ch Wrist Array
- Place the cubical unified phantom in the coil by lifting the
upper portion of the coil as shown in the Figure 11. Close the
coil and lock it (lock in Figure 12.
Figure 11. Place the cubical unified phantom

- Connect the coil to respective port of the LPCA and landmark
the coil at the marks shown using arrows as shown in Figure 12 and advance
to scan.
Figure 12. Lock and landmark
- Click here to go to the MCQA Test
3 Finalization
Finalization
No finalization steps.